


Welcome to Week Three of the One Room Challenge! In case you’re new, this is a six week challenge that happens each year in the fall and spring. Twenty designers along with a couple hundred guest participants choose a room in their home to remodel. During those six weeks, they document the process to share each week. It’s a lot of fun to follow everyone’s progress so be sure to visit their website to check out all of the projects.
I announced during Week One that I will be finishing my den/study and revealed the design plan during Week Two. While I had hoped to have made more progress last week, some of the drywall repairs and trim gave me more trouble than I had anticipated. So simply put, this week’s update will be short and sweet.
Week Three Progress
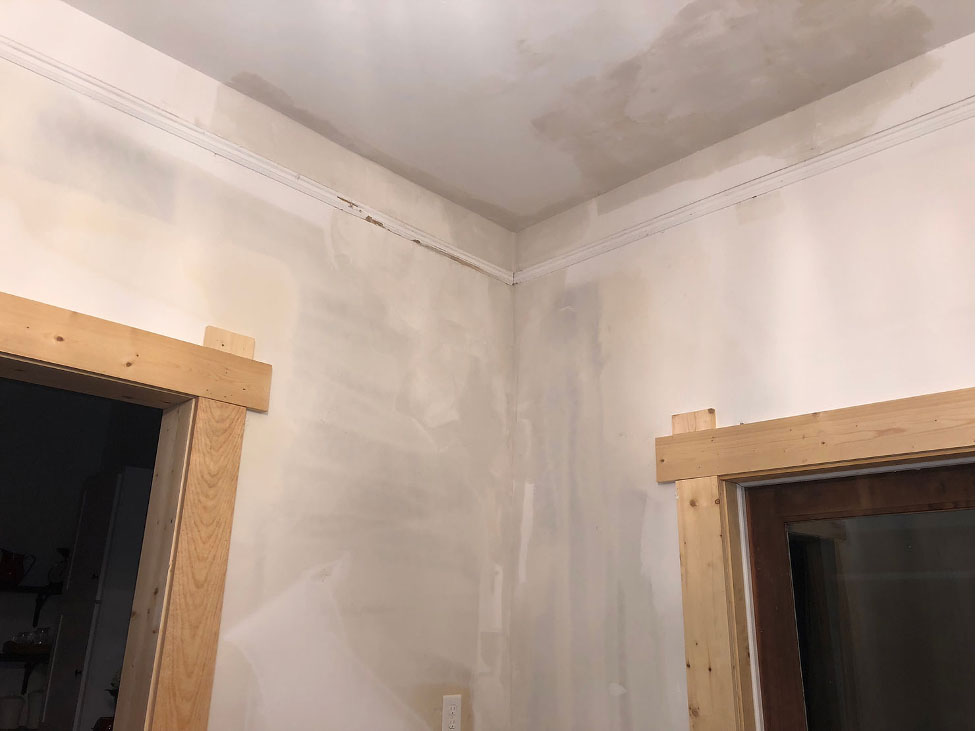
Over the weekend I had the chance to tear out some of the drywall that had previous water damage. The good news is that the roof was replaced last fall so the water problem has been solved. The bad news is that the damage to the drywall was more extensive than I had anticipated. I had to chase down the damage tearing out as I went until I found a good stopping point. From there I went back and repaired all of the areas which takes several coats of drywall compound. That work plus lots of drying time in between coats. The good news is that I just finished up the last coat so hopefully I can sand and start painting.
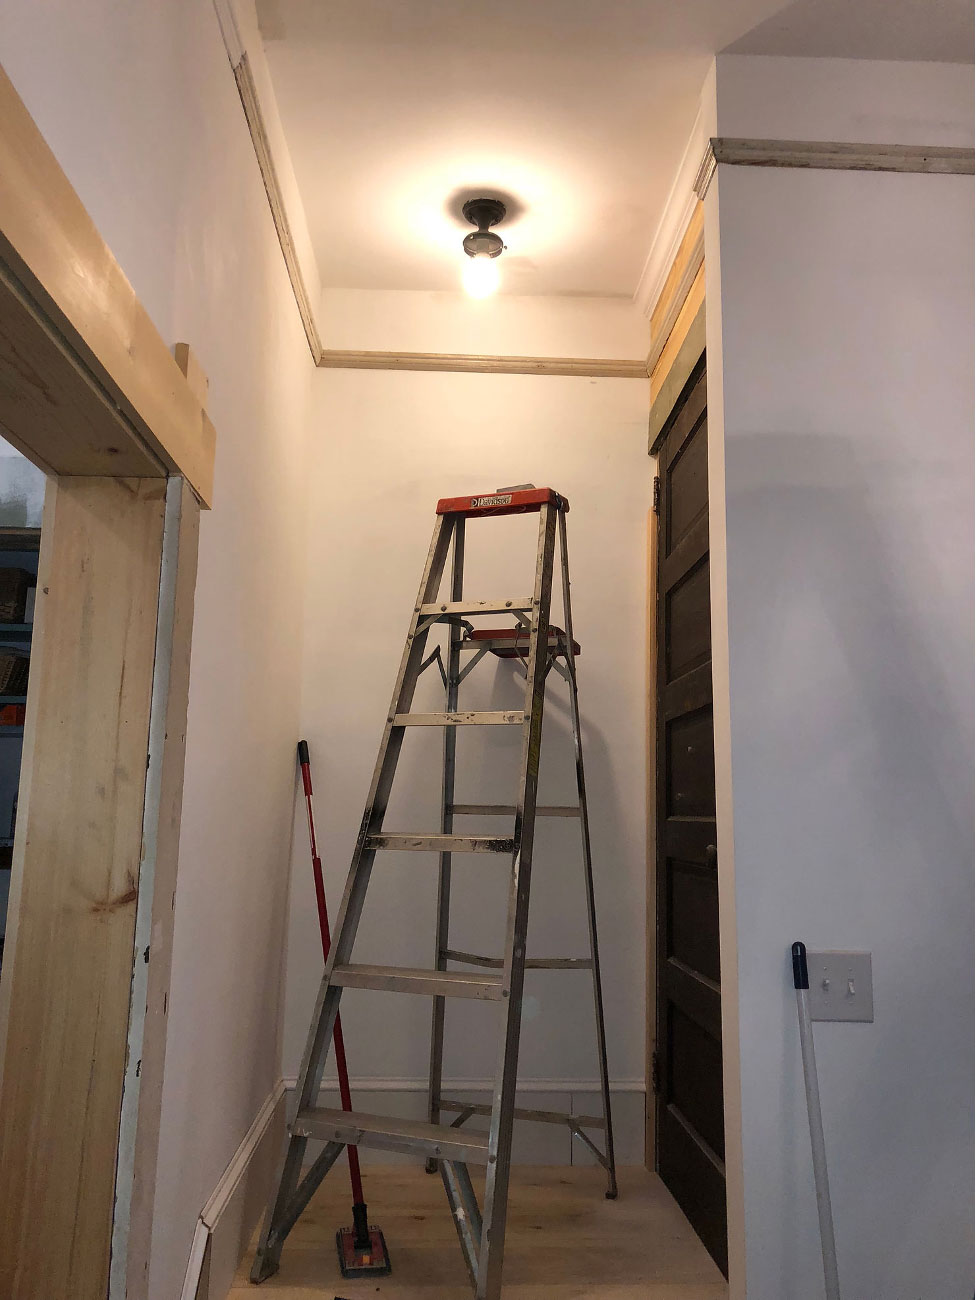
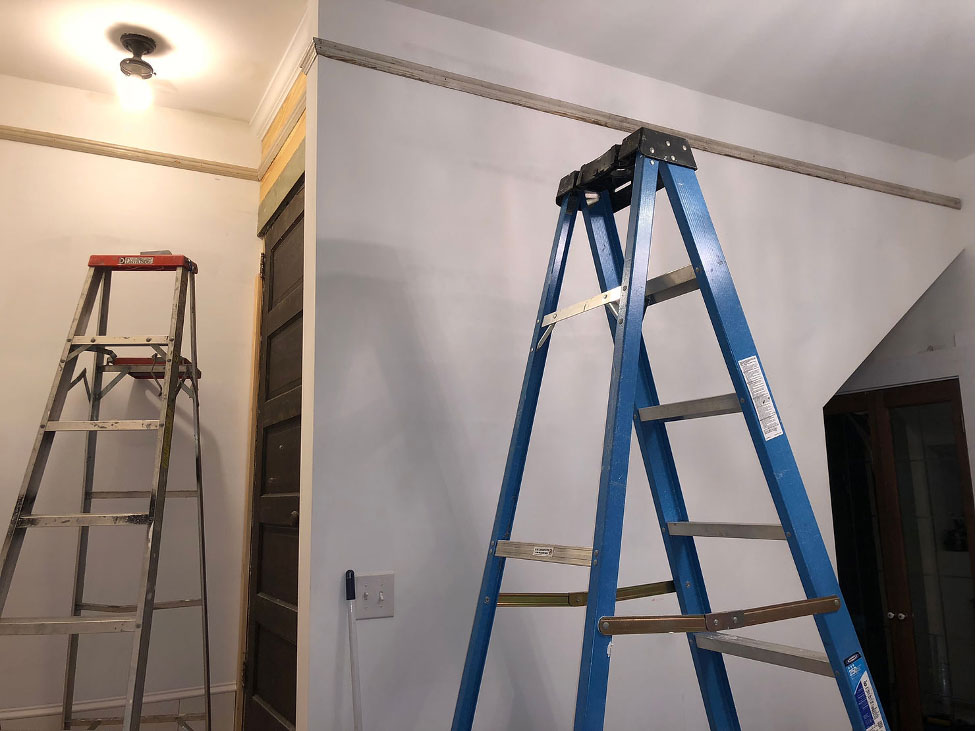
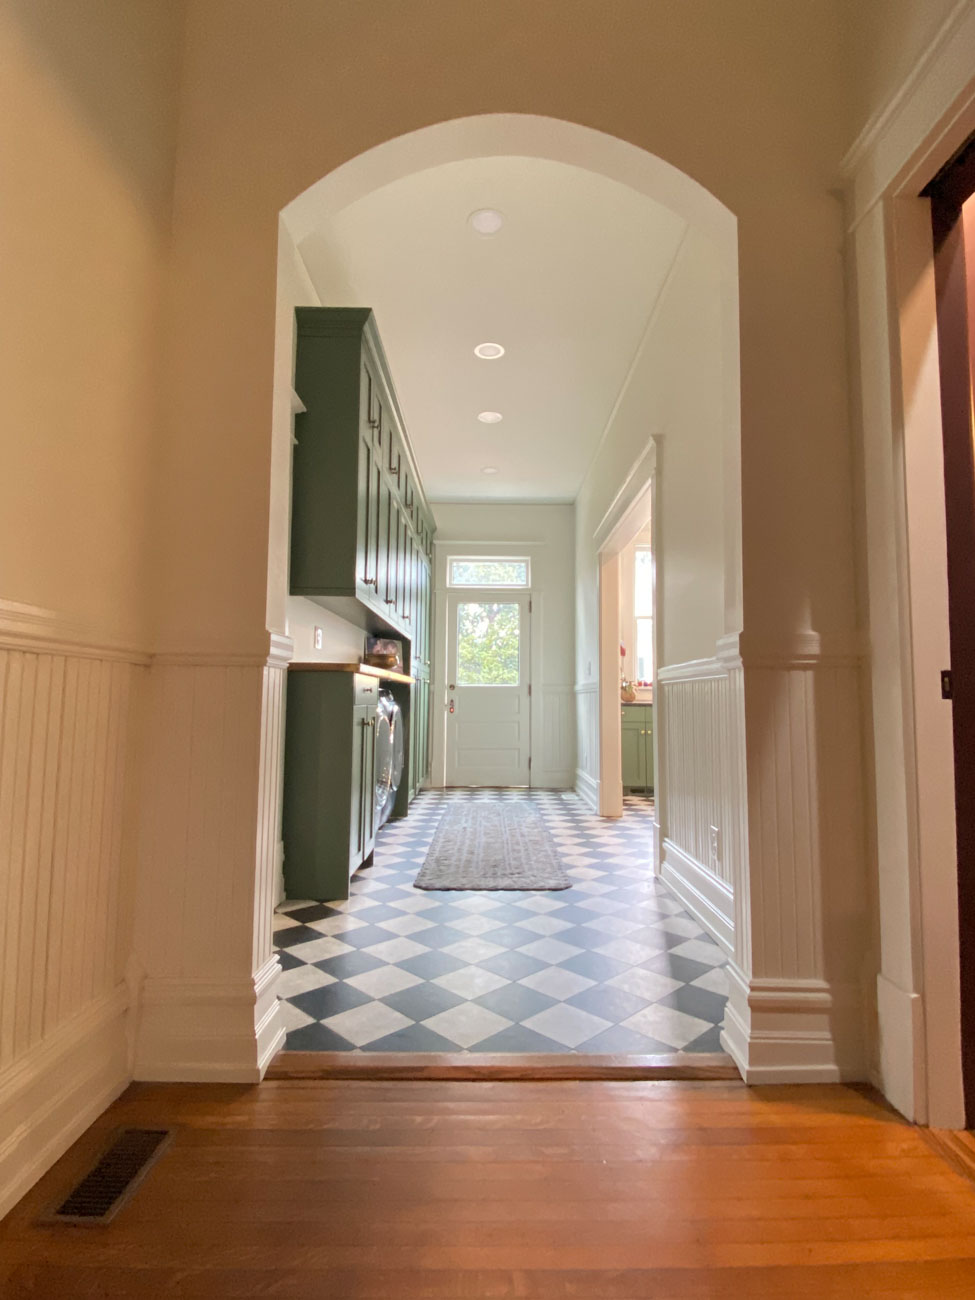
While the mud was drying, I switched up to finish installing the picture molding and missing baseboards. For those familiar with historic homes, you probably know the picture molding they sell at home improvement stores is smaller than original trim. Because over half of the picture molding was already in place, I had to work hard to find enough salvage pieces to finish the space. I’m still one piece short but am pretty sure I can steal some from another house I’m working on.
One design decision made was to move forward with the picture ledges rather than a gallery wall. Those materials have been purchased so I’ll assemble and install on the wall behind the couch.
And that’s about it. I’ve included a couple of pictures with the trim installed a hopefully next week everything will be painted. Then the room will FINALLY start to take shape. Have a great week!

@heather_homes
Hang out with me in Stories for all the
Behind-the-Scenes


+ Show / Hide Comments
Share to: