


Hey friends! We’re heading into Week Two of the One Room Challenge and as I mentioned in Week One’s Post, I’ll be transforming my Den/Study. While I had high hopes of getting started once I got back into town, the reality of playing catch-up with work hasn’t left much time to focus on my own home. So this is pretty much where we are.
Underwhelmed? Me too….haha….but I work much better under pressure so I’m anticipating getting a lot done this weekend. Fingers crossed.
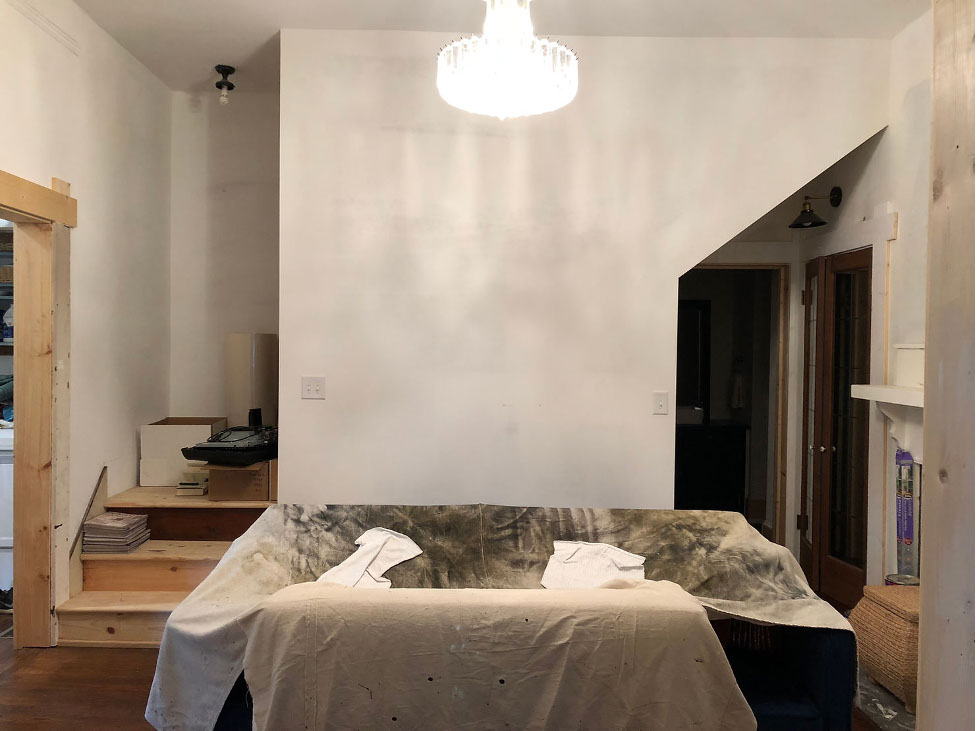
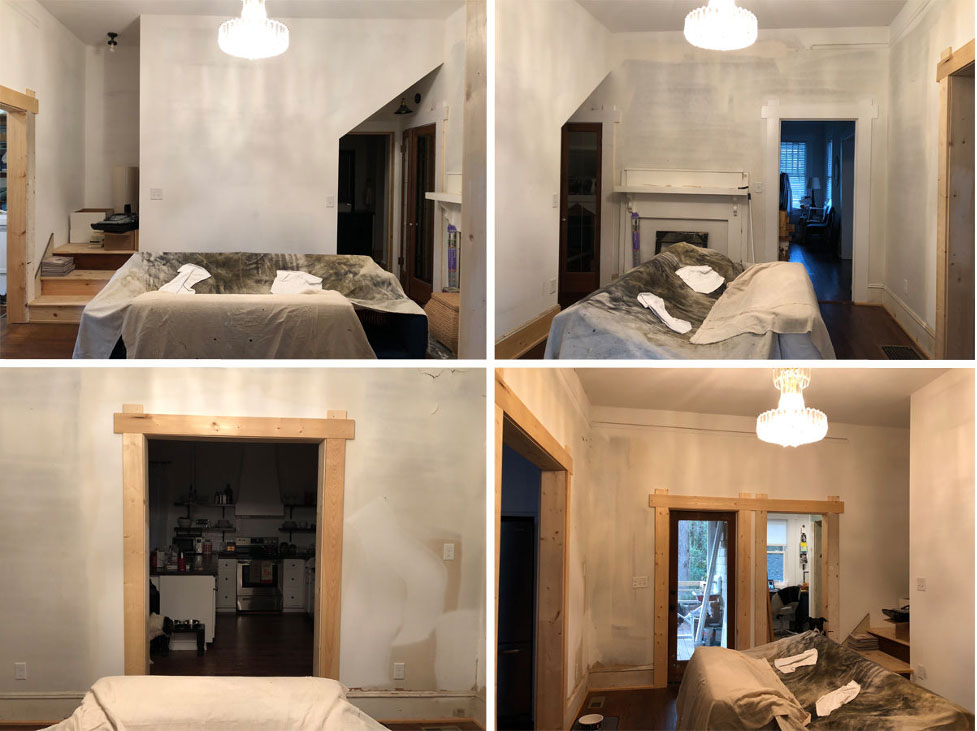
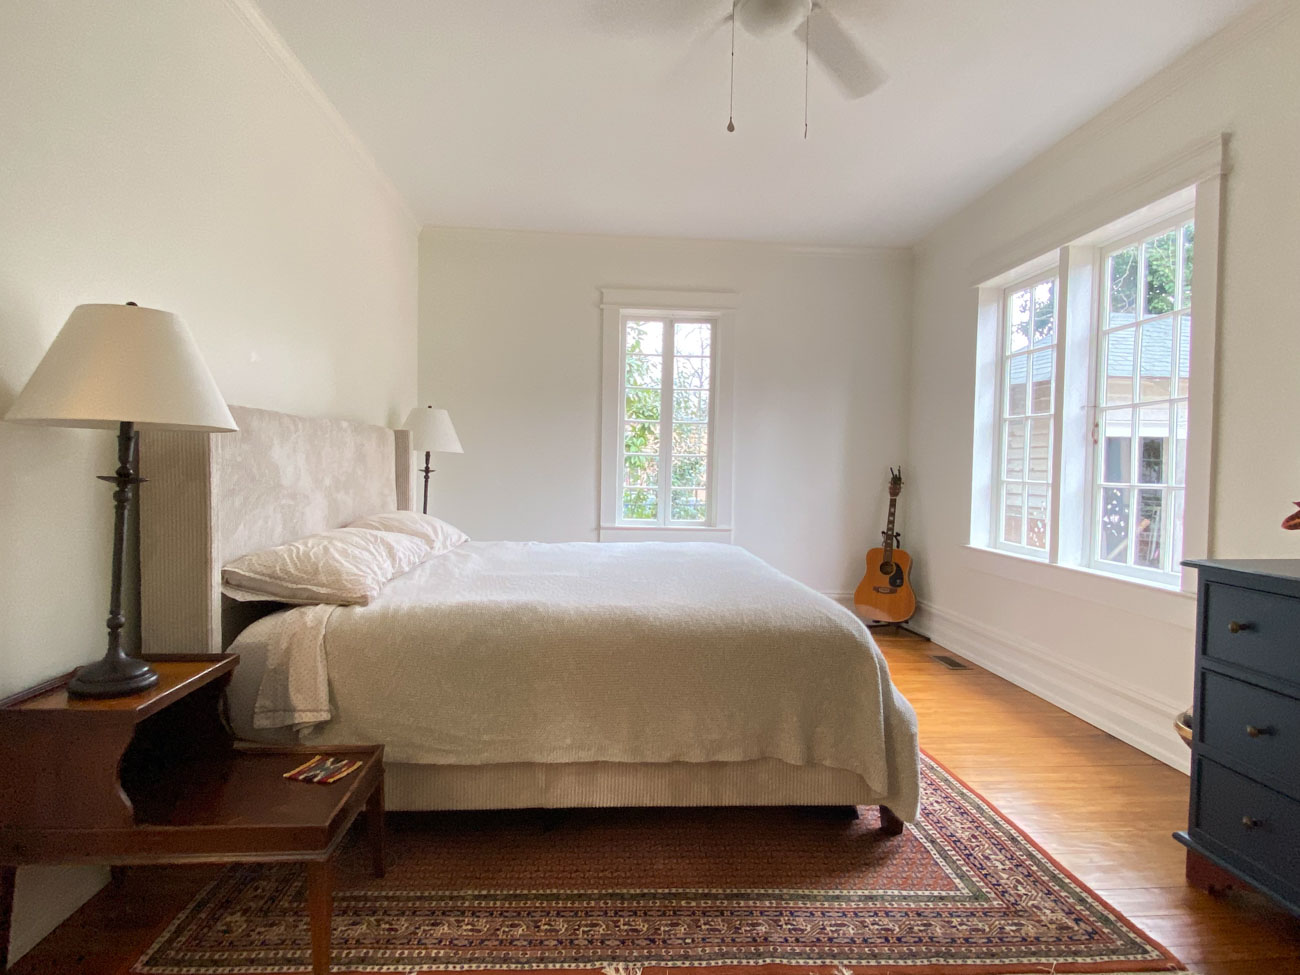
I did start clearing out most all of the items that were stacked all over the place. My blue velvet sofa purchased last year is under the tarps to protect it. I also covered up the white Ikea ottoman I found on the side of the road outside a loft downtown. So now that everything is cleared out, here’s a more updated view of each wall in the room.
As I mentioned last week, all of the major work for this room has been completed. So here’s the checklist for next week in order to get ready for the fun stuff, decorating:
- Patch drywall and sand ceilings and walls where needed.
- Prime and paint all walls and trim white.
- Nail down the shoe molding after it has been painted.
The Design Plan
All of the rooms in my house except one are all white. This includes the walls and trim so I plan to continue this theme in the den/study. I love to have a crisp white background to allow the furniture and decor to take center stage. My blue velvet sleeper sofa will be in the center of what we’ll call the ‘stair wall’ and there’s not much that makes me happier than pops of red.
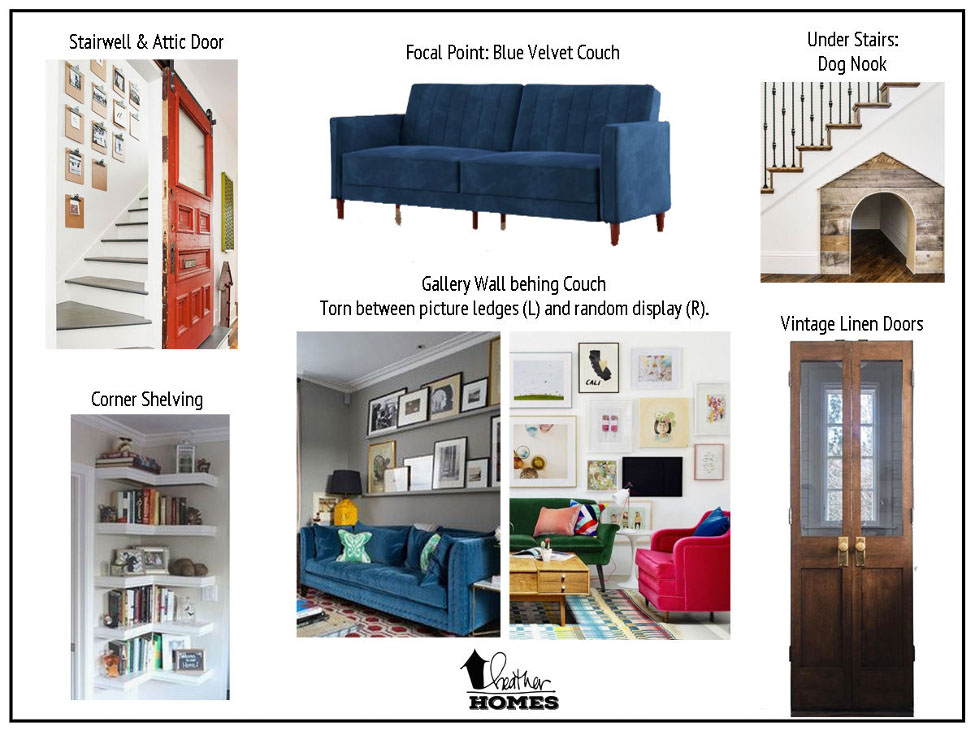
I plan to have two distinct areas to display books, picture frames, and other special items. One will be corner shelves to the left of the back door and secondly, on the wall behind the couch. I’m not quite sure just yet if I’ll go with a gallery wall or choose two or three picture ledges so that I can mix in a few other display items as well. We’ll see. I’m also toying with the idea of painting that back wall black. Since I’m not 100% committed, I decided to wait and make a decision on that later on.
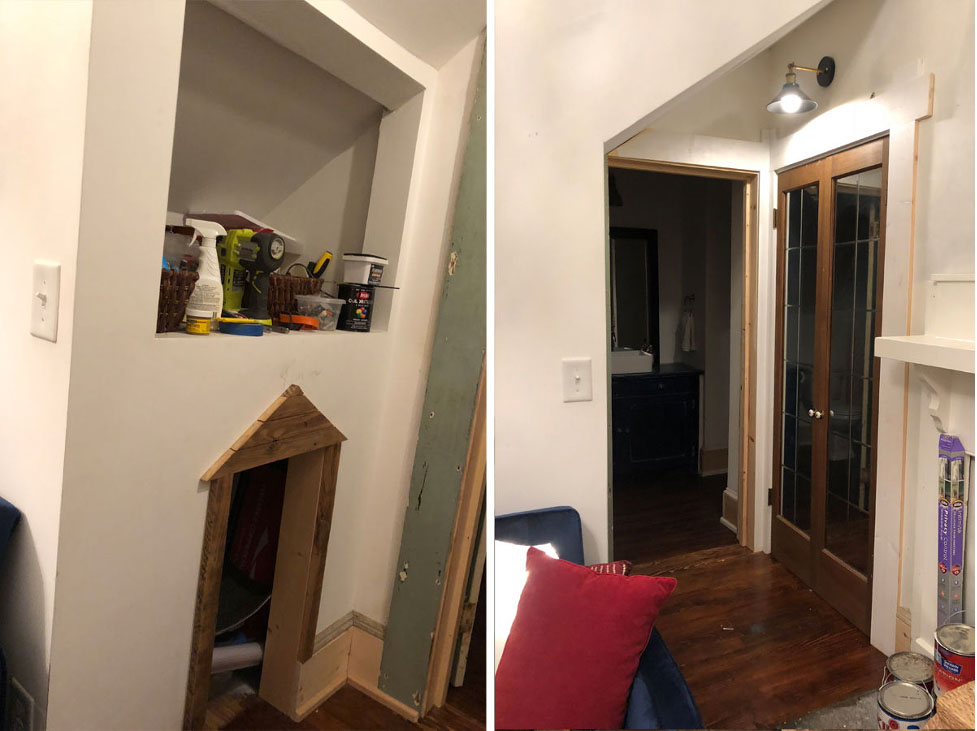
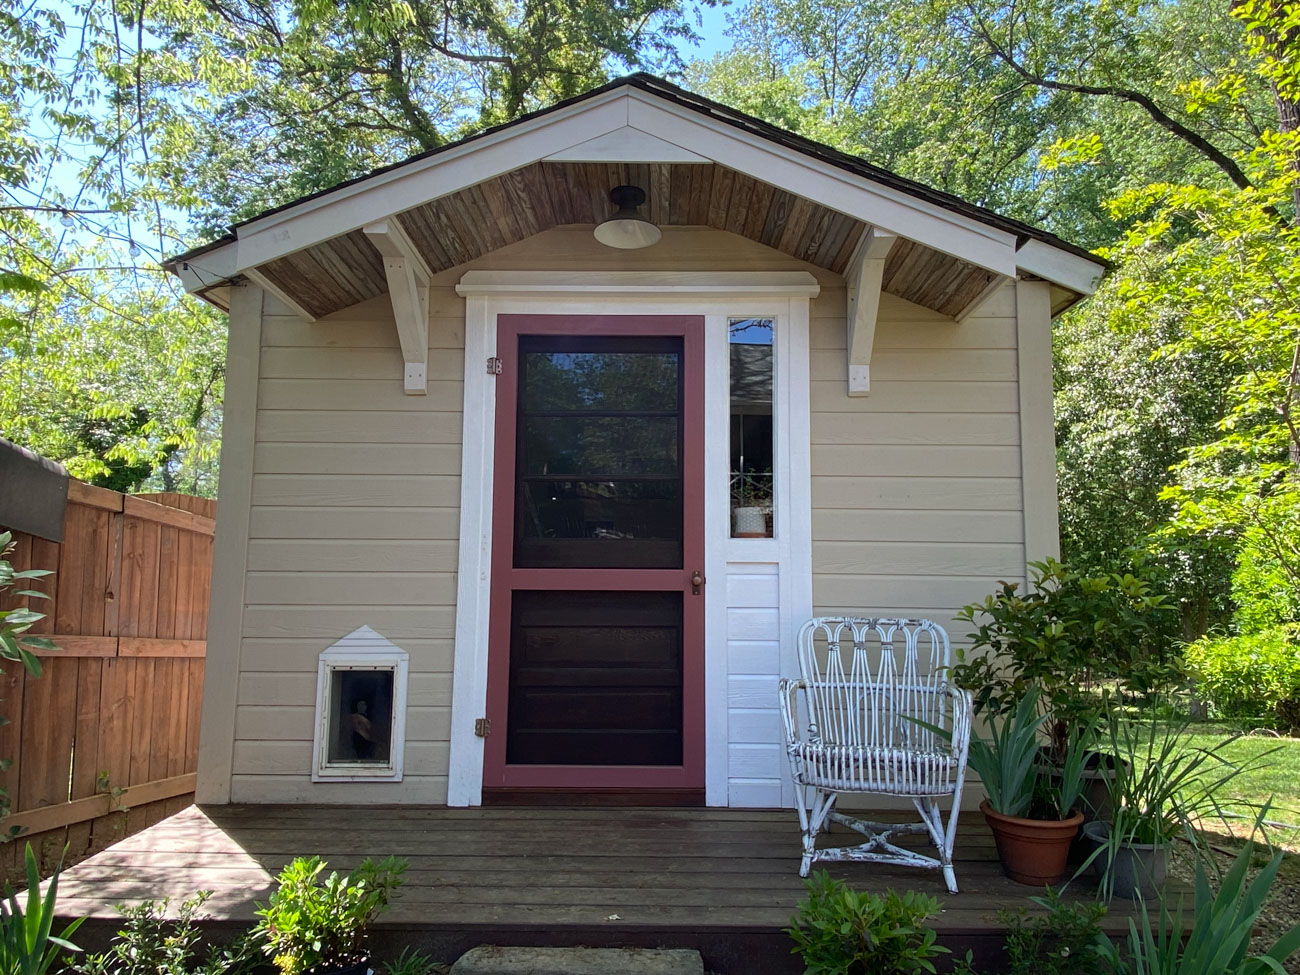
The area under the stairs is my favorite part of the room because of the neat angles and the novelty of the space. Inspired by some pictures I saw on Pinterest, I’ve created a little nook just for my dogs, Sampson and Lucy, that will look like a dog house from the outside. Ten bucks say my dogs won’t step foot in there.
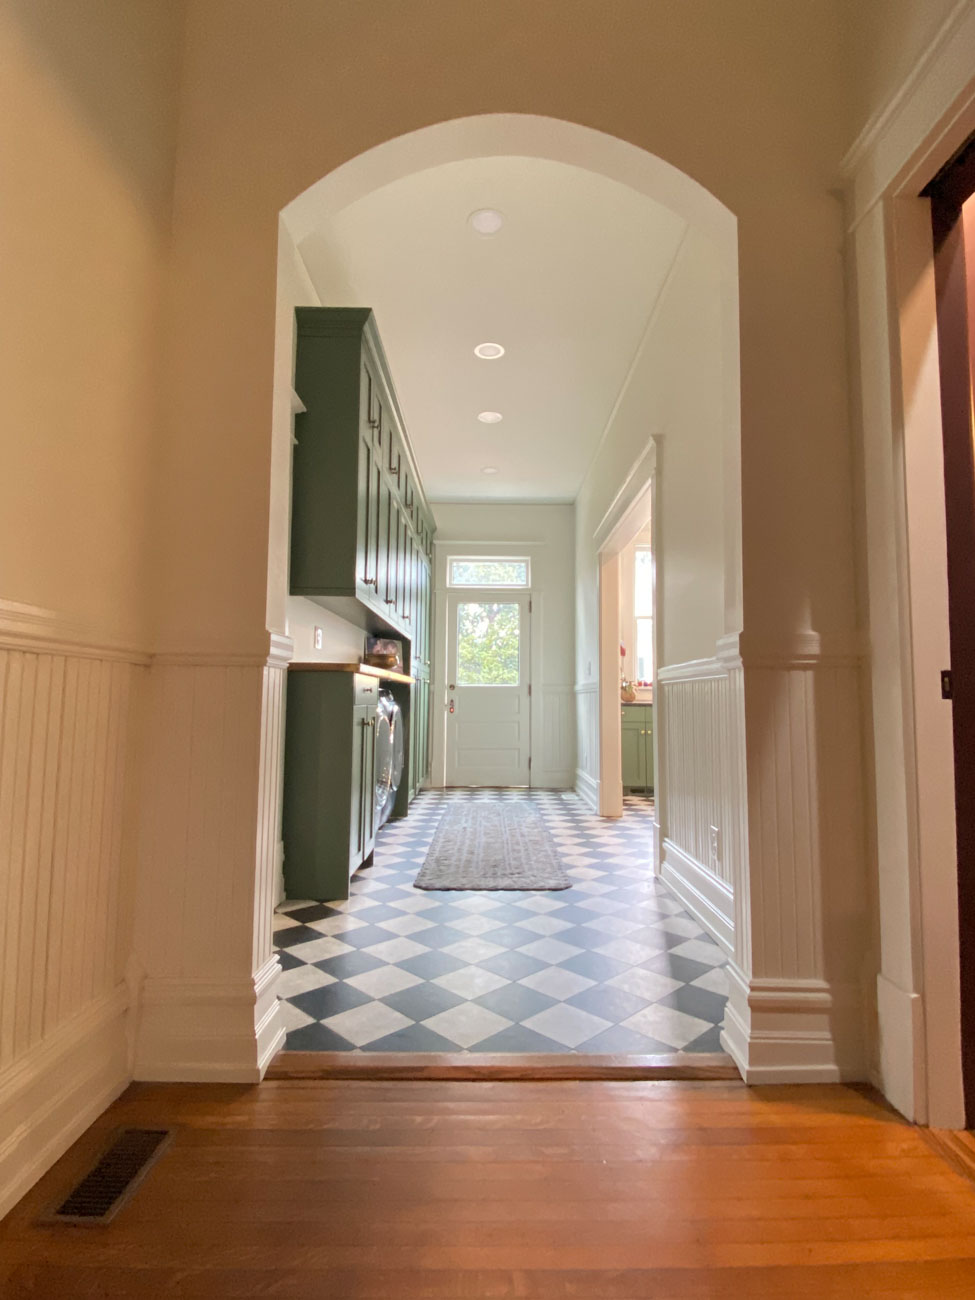
Above this space is a little alcove that has quickly become a catch-all and an organizational mess. So, I’ve got to come up with both a way to organize it and a way to conceal it. Across from the alcove is now a linen closet a closet we found during demo. My parents found two vintage glass doors at the Habitat ReStore so I’m working towards a mirrored look on the glass to conceal what’s behind the closed doors.
First Purchase Made!
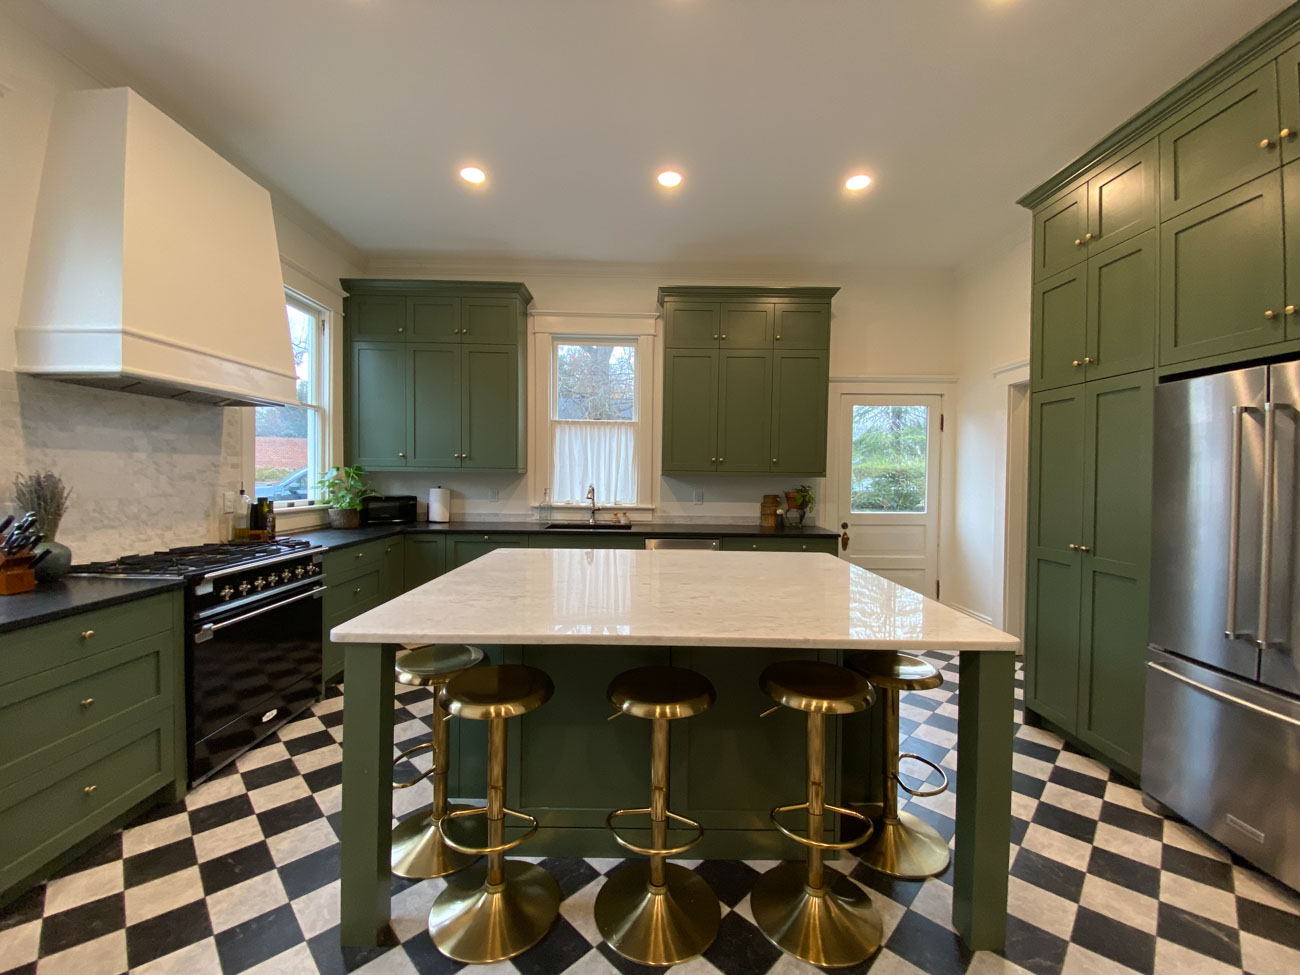
The good news is that I made my first purchase this week. I’ve been hesitant to pull the trigger on purchasing rugs for the entire house because quite frankly, I’m not willing to spend a whole lot of money on rugs due to my dogs. No matter how hard I try, I just can’t keep them clean and they only last about 18 months in my house. So, I always keep cost in mind. Earlier this week I found this black and white one on sale at Rugs USA and decided to go for it. It should be in sometime next week and I’m really excited to see it in this space.

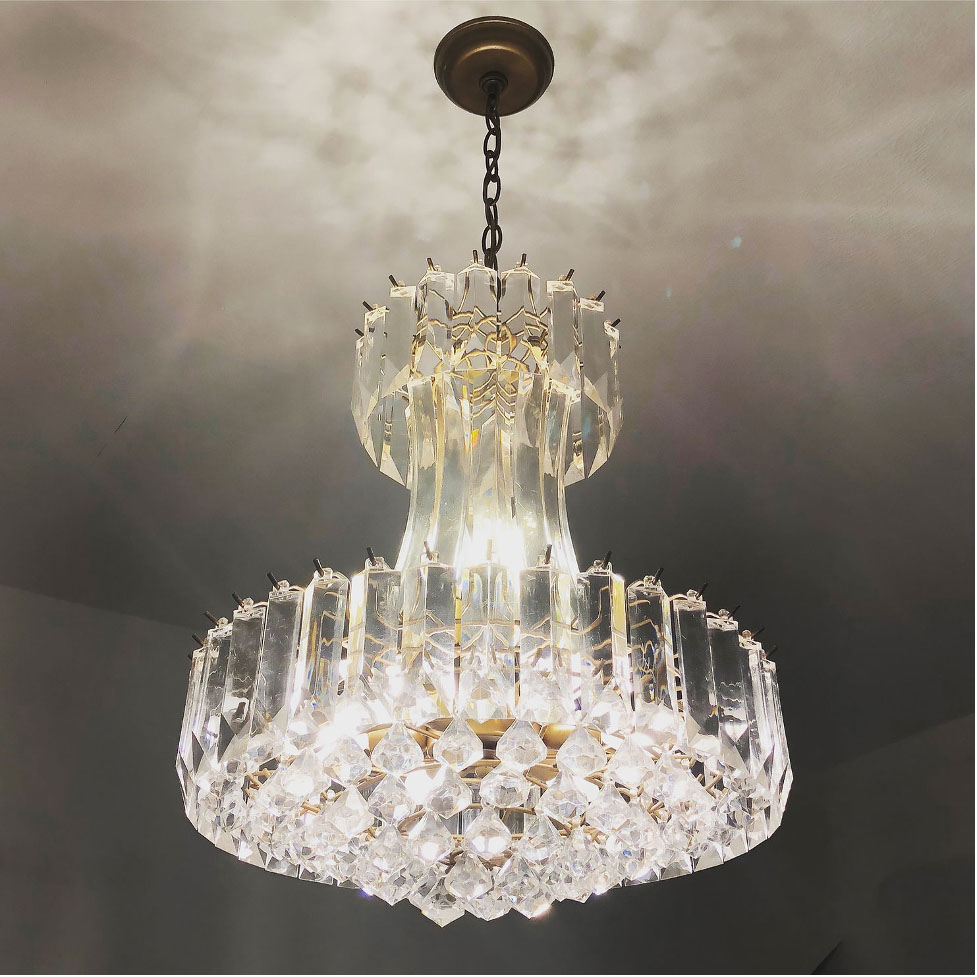
And last but not least is the bright light of this room, literally. The only light fixture worth repurposing in the house previously hung in the dining room. It was all things sparkly and shiny which typically are not me. However, for some reason, I really loved it and decided to use it in this room. I thought it would help with the funky and eclectic vibe I’m going for. And guess what…..I LOVE IT! All it took was a little cleaning and my electrician was able to install it easily. And the best part is that it didn’t cost a dime!
So that’s a wrap for Week Two. Thanks so much for following along and don’t forget to check out all of the Featured Designers and Guest Participants. See you next week!

@heather_homes
Hang out with me in Stories for all the
Behind-the-Scenes


+ Show / Hide Comments
Share to: